
The first step to a great cake is a great recipe. Rose Levy Berenbaum's Cake Bible
The next step is good tools. I love cake strips
Another important tool is a rotating cake tray or a lazy Susan. I got this simple, cheap one
An offset spatula
None of these tools are absolutely essential but they make decorating easier and give you better results.
Another important thing is cake flour. It is very different from regular, all-purpose flour. It makes a huge difference in your cakes.
Okay, so you've got your book and you bake your cake. Now it's time to frost. I almost always make Martha Stewart's Swiss Meringue Buttercream. It is light and delicate, sweet and delicious. It spreads and pipes easily. For this frosting you really need a stand mixer. It takes a long time to make but with a good KitchenAid mixer (and really, you should have one anyway) you just turn it on and walk away for twenty minutes. The frosting does take a long time to go from meringue to creamy wonderfulness. Don't despair if it looks lumpy or clotted. Just keep on mixing. Eventually it will coalesce and get very smooth.
The next step is the most important. It is the difference between professional looking results and the cake you made for your grandmother when you were seven. Crumb coating. Color your frosting. I really like using the paste colors. They are so much more intense and less expensive than food coloring. Plus it comes in great colors. Do not skip this step. Take a small amount of frosting and put it in a separate bowl. You don't want to mix crumbs into your big bowl of frosting. Frost the top of the bottom layer. Place the second layer on top of it. Then put a very thin coating on frosting on the entire cake. Don't worry about getting a lot of crumbs in it or having bald spots on the cake. This is like priming a wall for painting. It's your chance to fill in any dips on the surface of the cake. Hold your spatula vertically and turn the cake to create a nice straight side all around. Put the cake in the refrigerator and leave it alone for a while until the crumb coat sets.
It is very hard to photograph yourself frosting a cake.
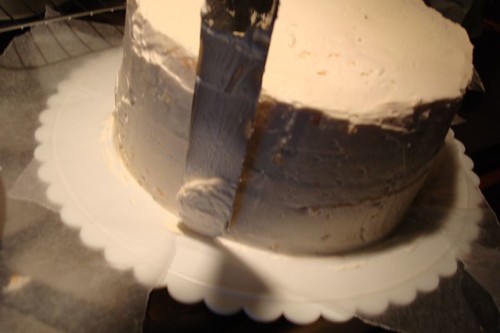
Once the crumb coat is cool and all those pesky crumbs are stuck in place you can frost as you want. If you want to final surface of your cake to be very smooth stick the cake back in the fridge for a while. Bring a small pan of water to a simmer. The pan needs to be deep enough to fit the length of your offset spatula in. Once your cake is cool bring it out of the fridge. Place your offset spatula in the hot water. Dry it off. Then glide the hot blade across the surface of the icing. It will melt the very top layer and leave the frosting completely smooth and beautiful.
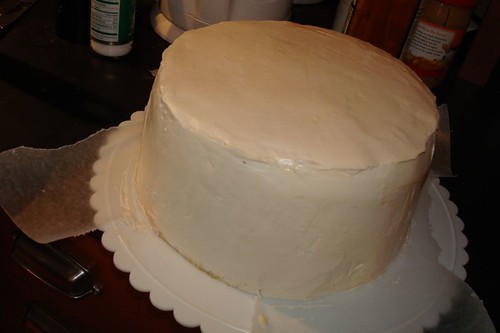
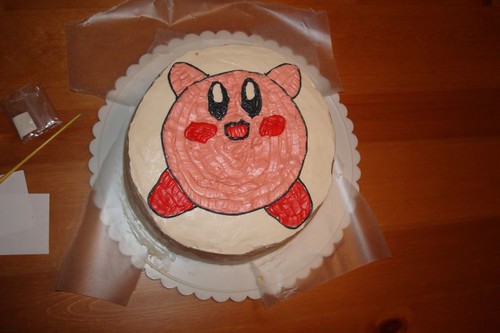
And voila! A delicious, beautiful cake. I know buying cake at the store is easier but I guarantee you that store-bought cake doesn't hold a candle to this. (No pun intended). It's like the difference between between handknit socks from handspun yarn and acrylic/cotton socks from Walmart.
*sure, you're going to eat those bits you cut off so it's not totally wasted.

